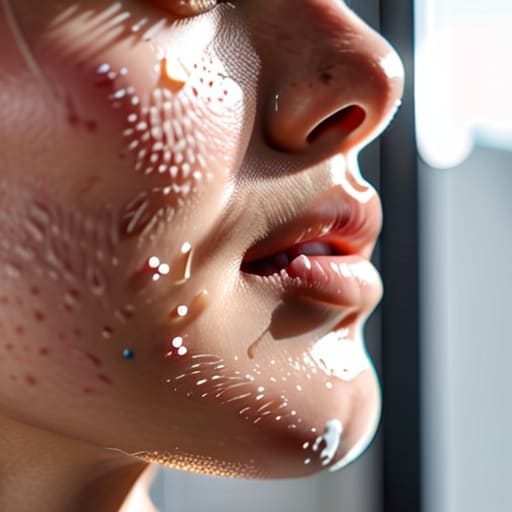
I still remember the frantic feeling of my early twenties, standing in front of a bathroom mirror under harsh fluorescent lights, trying to “scrub away” a sudden breakout with a stinging salicylic acid toner. I thought more was better, but all I did was wreck my skin barrier and leave myself red and raw. It took a long time to realize that sometimes, the best thing you can do for a blemish is actually nothing at all. I used to think that proper pimple patch usage meant following some complicated, expensive multi-step ritual, but honestly? It’s much simpler than the skincare industry wants you to believe.
I’m not here to sell you on a twenty-step routine or some miracle serum that costs more than my monthly grocery bill. Instead, I want to share what actually works for my skin when life gets busy and my stress levels spike. I’m going to walk you through the real-world mechanics of how to use these little patches effectively, without the unnecessary hype. Consider this your guide to cutting through the noise and turning a frustrating breakout into a quiet, manageable moment of self-care.
Table of Contents
The Best Time to Use Acne Patches for Peace of Mind

I’ve learned the hard way that timing is everything when it comes to letting your skin heal. If you’re looking for the best time to use acne patches, my rule of thumb is to wait until your skin is completely clean and dry. I know it’s tempting to slap one on mid-routine, but pimple patch application on wet skin is a recipe for it sliding right off. I usually save them for the very last step of my evening ritual, once my serums have fully absorbed.
There is something so grounding about applying a patch right before bed. It’s like a tiny, silent agreement with yourself to stop picking and start healing. If you’re dealing with a visible bump, you’ll notice that pimple patch effectiveness for whiteheads is at its peak when the spot has already come to a head. It gently draws out the impurities overnight, which is a huge win for preventing acne scarring with patches down the road. Instead of waking up to a red, angry mark, you usually find a much calmer, flatter spot in the morning.
How to Apply Hydrocolloid Bandages Without the Stress
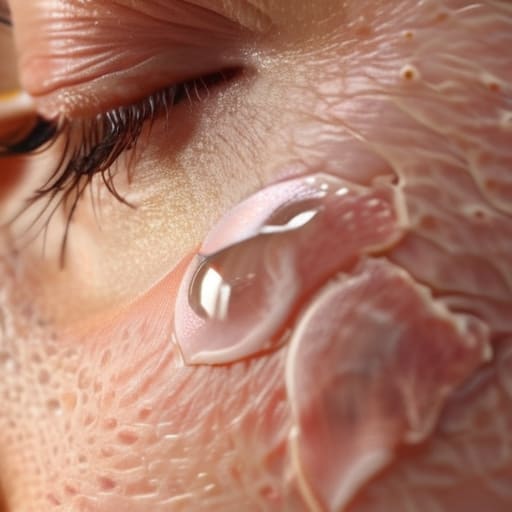
I’ve learned the hard way that if you rush this part, you’re just wasting a good patch. The biggest mistake I see people making is trying to stick them on over a layer of moisturizer or facial oil. If you attempt pimple patch application on wet skin or a greasy surface, it’s just going to slide right off halfway through the night. I always make sure my skin is completely clean and bone-dry before I even reach for the packet. Think of it like prepping a canvas; you need that clean, matte surface so the adhesive can actually do its job.
Once your skin is dry, gently press the patch onto the spot and hold it there with your fingertip for a few seconds. This little bit of warmth helps it seal properly. If you’re dealing with a particularly stubborn bump, I find that pimple patch effectiveness for whiteheads increases significantly when the patch is applied right after a warm shower when the pore is slightly more receptive. Just avoid the urge to pick at it first—let the bandage handle the heavy lifting while you focus on your morning coffee.
My Little Rules for Making Patches Actually Work
- Clean skin is non-negotiable. I know, I know—we want to rush, but if you apply a patch over heavy moisturizer or oils, it’s just going to slide right off. Patches need a dry, bare surface to really grab onto that blemish.
- Timing is everything. I’ve learned the hard way that patches work best on those whiteheads that are just starting to peek through. If it’s still deep under the skin, the patch might not do much, so save it for when the breakout is ready to surface.
- Don’t play “the picking game.” I used to be so guilty of this, but the best way to use a patch is to treat it as a physical barrier. It stops you from touching the spot, which is honestly half the battle in preventing scars and inflammation.
- Give it some real time. I used to pop them off after an hour because I wanted to see progress, but that’s a mistake. Let them sit for at least 6 to 8 hours—ideally while you sleep—to let the hydrocolloid really do its magic.
- Be gentle during the removal. When you finally peel it off, don’t rip it like a band-aid. I find that pulling it slowly from the edges keeps my skin from getting irritated, especially since I’m already trying to be careful with my barrier.
My Quick Cheat Sheet for Stress-Free Patching
Timing is everything—apply your patch to clean, dry skin before you moisturize so it actually stays put and does its job.
Don’t pick at the bump; let the hydrocolloid do the heavy lifting overnight while you get some much-needed rest.
Less is more—you don’t need to cover your whole face, just target the spots that are bothering you and let your skin breathe elsewhere.
Less Picking, More Peace
“I used to spend so much time staring in the mirror, picking at every little bump until my skin was red and angry. Now, I just pop a patch on, put my Lo-Fi playlist on, and let the science do its thing while I focus on literally anything else.”
Neha Rajagopal
Finding Your Rhythm with Skin Care
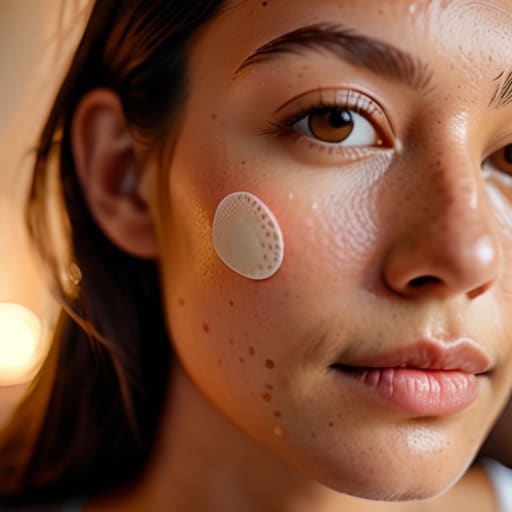
At the end of the day, using pimple patches isn’t about chasing perfection or obsessing over every tiny bump that appears. It’s really just about knowing when to step in and when to let your skin do its thing. Whether you’re applying them to a whitehead before bed or using them as a protective barrier during a busy workday, the goal is to minimize irritation and prevent that frantic urge to pick. By choosing the right timing and applying them to clean, dry skin, you’re essentially giving your skin a little permission to heal in peace without the extra stress of manual intervention.
I know how easy it is to spiral when you see a breakout in the mirror, but please remember that your skin is a living, breathing organ, not a flaw to be fixed. These little patches are just small tools to help you navigate the bumps along the way. Use them as a way to practice patience rather than a way to punish yourself for having skin that isn’t “perfect.” Take a deep breath, pop a patch on if you need to, and then get back to your life. You are so much more than a temporary breakout.
Frequently Asked Questions
Can I actually wear these under makeup without it looking obvious?
Honestly, I used to worry about this all the time, but you definitely can. My trick is to wait until your moisturizer has completely sunk in so the patch has a dry surface to grip. If you go with the ultra-thin, matte versions, they blend in beautifully under concealer. Just dab a little bit of makeup over the edges rather than swiping, and it’ll stay hidden while you go about your day.
Do I need to put any serum or moisturizer on first, or should my skin be totally bare?
Keep it totally bare. I know it feels counterintuitive—especially when you’ve just spent time layering your favorite serums—but for a patch to actually work, it needs to bond directly with your skin. If there’s a layer of moisturizer or oil in the way, the patch won’t create that airtight seal it needs to pull out the gunk. Cleanse, dry the spot completely, and then pop the patch on. Save the hydration for after!
How long should I really leave them on before I start worrying if they're working?
Honestly, I used to check my reflection every twenty minutes, but that just adds more stress. Give it at least six to eight hours—ideally, pop them on right before you head to bed. If the patch looks white and puffy, it’s doing its job by pulling out that gunk. If it still looks clear after a full night, it might just be better to let it go and try again when the breakout is more “ripe.”
